By Renew Dental ClinicPublished on
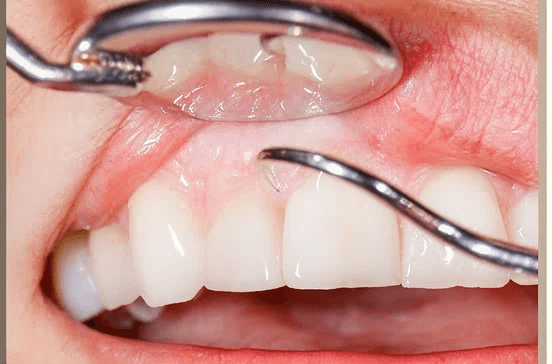
Man's face showing his teeth.
Most people who floss aren't doing it correctly. They thread the floss between two teeth, saw it up and down once or twice, move to the next gap, and consider the job done. This achieves something — it dislodges loose food and makes the motion feel complete — but it misses most of what flossing actually exists to do.
The cleaning purpose of flossing is not between the teeth. It's on the surfaces of the teeth within the contact area, and — more importantly — at and below the gumline, where plaque accumulates in the sulcus (the small crevice between tooth and gum). This is where gingivitis starts. This is where early periodontitis takes hold. This is the area a toothbrush cannot reach regardless of technique or bristle type.
Done correctly, flossing takes about 2 minutes. Done incorrectly, it takes 30 seconds and accomplishes relatively little of clinical value. The difference is in the technique.
Before the technique, the goal. You're not trying to dislodge food from between teeth — that's a useful secondary effect. The primary goal is to physically scrape the plaque biofilm off the proximal (side) surfaces of each tooth, from the visible contact point down into the sulcus below the gumline.
Plaque doesn't just sit passively between teeth. It adheres to the tooth surface in a biofilm — a structured bacterial community. Disrupting and removing this biofilm is what flossing accomplishes. Rinsing with water or mouthwash does not disrupt or remove it. Only physical contact — the floss scraping the tooth surface — does.
This is why technique matters. A single pass of floss through a contact point doesn't effectively scrape the surfaces. A C-shaped wrap that presses the floss against each adjacent tooth surface and slides below the gumline does.
Standard waxed dental floss is the most widely used and effective option for most people. Waxed slides through tight contacts more easily than unwaxed; unwaxed may provide a slightly more thorough cleaning in looser contacts because of additional friction. Either works.
Flavoured floss (mint, etc.) has no clinical advantage — choose whatever makes you more likely to use it.
Floss picks (preloaded plastic picks) are a significant compromise in technique — they don't allow the C-shape wrap that's central to effective technique — but they're considerably better than not flossing at all. If picks are what you'll actually use consistently, use them.
Interdental brushes (bottle-brush shaped) reach where floss doesn't in patients with wider gaps, and research suggests they're more effective than floss in patients with existing gum disease or larger interdental spaces. They're not fully interchangeable for tight contacts where string floss can go and a brush cannot.
Water flossers are excellent adjuncts, particularly for patients with braces, implants, or bridges. They flush debris and bacteria from spaces the toothbrush can't reach. Their effectiveness at mechanically disrupting established plaque biofilm is lower than string floss, but their effectiveness at gum inflammation reduction is well supported.
Pull out approximately 40 to 45 cm of floss. Wind most of it around one middle finger — leaving enough around the other middle finger to take up used floss as you progress. You'll be using the thumbs and index fingers to guide the working section.
Why so much? You should use a fresh section of floss for each tooth gap — using the same section repeatedly moves bacteria from one location to another rather than removing them.
Pinch about 2 cm of working floss taut between the thumbs and index fingers. The working section should be short enough to maintain control — a longer working section is harder to manoeuvre in the back of the mouth.
For upper teeth: use both thumbs to guide the floss. For lower teeth: use both index fingers.
Guide the floss between two teeth using a gentle zigzag motion — not a snapping or forced straight-down motion. Snapping floss down into the contact point can cut the gum tissue at the papilla (the triangular gum point between teeth) and cause unnecessary bleeding.
The floss should slide through the contact point with firm but gentle pressure. If it consistently won't pass through without significant force, mention this at your next check-up — tight contacts may benefit from reshaping or there may be a calculus deposit blocking the space.
This is the critical step that most people skip entirely.
Once the floss has passed through the contact point, curve it into a C-shape around one tooth surface. The floss should be hugging the side of one tooth — not straddling the space between two teeth, but pressing against the surface of just one.
Then slide the floss gently below the gumline — into the sulcus. You'll feel slight resistance as the floss enters the sulcus; this is normal and is precisely where you need to clean. The typical sulcus depth is 1 to 3 mm — the floss slides this distance below the visible gumline.
With the floss seated against the tooth surface in the sulcus, slide it gently upward along the tooth surface toward the contact point. Then slide it down again. Three to four strokes per surface, maintaining the C-shape and the gentle pressure against the tooth.
You're not sawing the floss in the gap. You're using the floss like a scraper on the tooth surface — one surface at a time.
Without removing the floss from the gap, reposition the C-shape to wrap around the adjacent tooth. Slide below the gumline on this tooth's surface and repeat the scraping motion.
Now you've cleaned two surfaces from one gap: the right side of the left tooth and the left side of the right tooth. Both teeth, from one piece of floss.
Slide the floss out gently. Unwind a fresh section from one finger and wind the used section onto the other. Proceed to the next gap.
Work systematically — upper right, upper left, lower left, lower right — so no gaps are skipped. Don't forget the back surface of the last molar in each quadrant: curve the floss around the back surface of the last tooth and clean this surface, which otherwise gets no interdental attention.
Snapping floss down into the contact point. Causes gum trauma without cleaning the sulcus. Gentle zigzag entry is the correct motion.
Not forming the C-shape. Pulling floss straight up and down between teeth cleans neither tooth surface effectively. The C-shape is what creates surface contact.
Not going below the gumline. This is what most people miss entirely. The sulcus is where the clinically significant plaque accumulates. Not reaching it defeats most of the point.
Using the same floss section repeatedly. Moves bacteria rather than removing them.
Going too fast. Flossing the full mouth should take 2 minutes. Faster than that and something is being skipped.
Only flossing when you remember something is stuck. Flossing is preventive, not reactive. The bacterial biofilm forming in the sulcus produces no sensation. You won't feel it — which is why waiting until you feel something misses the entire point.
First-time flossers or people who haven't flossed in months almost always experience gum bleeding. This alarms people enough that many stop immediately, concluding that flossing is harming their gums.
The opposite is true. The bleeding is from chronically inflamed gum tissue — inflamed specifically because the space hasn't been cleaned. The fragile blood vessels in the inflamed gum rupture on contact.
With consistent daily flossing — even when it bleeds initially — the bacterial load in the sulcus reduces, the gum inflammation reduces, and the bleeding stops. This typically takes 2 to 3 weeks.
If bleeding continues beyond 3 weeks of consistent correct technique, or if it's heavy rather than mild, a professional assessment at Renew Dental Clinic is warranted. At that point, calculus that can't be removed by flossing may be maintaining the inflammation, or gum disease may be more established than home care alone can address.
The technique is learnable in a single session. The habit is what most people struggle to maintain.
Before brushing, not after. This sequence is important. Flossing before brushing loosens debris and plaque between teeth; the subsequent brushing then removes the loosened material and applies fluoride to the now-more-accessible surfaces. Flossing after brushing is still valuable, but the order matters for optimal outcomes.
Link flossing to an existing habit. Habits form reliably when they're attached to an existing cue. Evening brushing is the natural anchor. Keep floss next to the toothbrush — if you see it, you're more likely to use it.
Set a 21-day target. The early weeks are the hardest because the habit isn't established. Once flossing has been daily for three weeks, most people find that skipping a night feels noticeably wrong.
Pick the floss type you'll actually use. The most effective floss is the one that gets used. If you hate string floss, try picks. If picks feel inadequate, try an interdental brush or water flosser. Perfect technique with imperfect compliance is less valuable than good-enough technique used every day.
Braces: String floss requires a floss threader to pass under the archwire. Superfloss (pre-threaded) simplifies this. Water flosser or interdental brushes are practical alternatives for between-bracket cleaning.
Bridges: The pontic (artificial tooth) of a bridge must be cleaned beneath as well as around it. This requires a floss threader or superfloss to access the space under the pontic. Water flosser reaches this area without threading.
Implants: Floss around implants with the same C-shape technique as natural teeth. The peri-implant sulcus benefits from the same thorough cleaning as the natural tooth sulcus — in fact, peri-implantitis (gum disease around implants) is a significant concern and early prevention matters.
Crowns: Crown margins — where the crown meets the gum — are the highest decay-risk areas on a crowned tooth. Flossing at these margins is as important as at natural teeth.
My gaps are very tight — can I use an interdental brush instead?
For very tight contacts, string floss is the appropriate tool because interdental brushes won't fit without forcing. If contacts are so tight that even floss won't pass without significant difficulty, this is worth mentioning to Dr. Suchi Singh — it may indicate calculus blocking the space.
How do I floss my back teeth without gagging?
Use a shorter working section of floss (1 to 2 cm between the fingers) to maintain control in the back of the mouth. Work with the mouth partially open but relaxed. Take breaks if needed. The gag reflex typically reduces with familiarity over several weeks.
Should children floss?
Yes — as soon as any two teeth are touching. This typically begins around age 2 to 3. Young children need parental help with flossing until approximately age 10, when fine motor control is sufficient.
For personalised oral hygiene guidance or a dental check-up at Renew Dental Clinic, Sector 47, Noida, call (0120) 498-8333.
Monday–Saturday 10:30 AM – 8:00 PM | Sunday 11:00 AM – 2:30 PM.
 Copy
Copy
Whitening toothpastes are among the most purchased dental products in India. This guide explains what...
02 Sept 2026
by Renew Dental Clinic
Skipping dental check-ups to save money is one of the costliest decisions in healthcare. This...
27 Aug 2026
by Renew Dental Clinic
Braces make cleaning between teeth harder — and more important. This guide covers every method...
26 Aug 2026
by Renew Dental Clinic
Considering dental veneers in Noida? This complete guide explains what veneers are, the types available,...
20 May 2026
by Renew Dental Clinic

Bleeding gums that don't respond to better brushing may have a nutritional cause. Several vitamin...
20 Aug 2026
by Renew Dental Clinic

When you have persistent tooth pain or sensitivity that just will not seem to go...
10 Nov 2025
by Renew Dental Clinic
Learn about gum disease, its causes, symptoms, stages, and treatment options to protect your oral health and prevent serious dental problems.
08 May 2026
by Renew Dental Clinic

Having a healthy mouth for life is not just about having a bright smile; it...
03 Sept 2025
by Renew Dental Clinic
The answer to whether chewing gum is good for teeth is more interesting than yes...
23 Jun 2026
by Renew Dental Clinic

Hormonal changes during pregnancy significantly affect gum health, and untreated dental infections carry real risks....
25 Aug 2026
by Renew Dental Clinic
Most people who grind their teeth do it during sleep and have no idea. Learn...
20 Oct 2026
by Renew Dental Clinic

Learn about the most common dental problems that beset seniors, including gum disease, dry mouth,...
18 Nov 2025
by Renew Dental Clinic
Had a tooth removed in Noida? This practical day-by-day guide covers exactly what to eat...
17 Jun 2026
by Renew Dental Clinic
The choice between root canal and extraction is one of the most common decisions in...
01 Oct 2026
by Renew Dental Clinic
Swelling after wisdom tooth surgery is normal — but how much is normal, when should...
16 Sept 2026
by Renew Dental Clinic
Explore More
Explore More
Discover how thousands of patients trust Renew Dental Clinic with their smiles.
Best dental clinic in noida..
Excellent dental care and friendly doctor. The doctor is very professional and gentle. Highly recommended! Professional, Caring, Recommended, Positive Experience
Great treatment and much hospitality.
Best dental clinic..
We had such a wonderful experience with Dr. Suchi and her dental clinic. She handled my mumma’s entire dental procedure with so much patience, care and gentleness. What truly stood out was how thoughtfully she followed up throughout the process and made sure Mumma was comfortable at every step. ❤️
The hygienist cleaned my teeth so gently, it was the most comfortable cleaning ever. No pain, just great results. Scaling / teeth cleaning Cleaning/Scaling, Painless, Clean/Hygienic
If you haven’t found the right dentist in Noida go and see Dr Suchi Singh. She does outstanding dental work and is very kind. Highly recommend.
Very nice Dr & very good supportive team ...Aaj mai 12 saal se jada ho gya yhi pr treatment karva rha hua apne dant ka bahut hi badhiya response Mila mujhe jitna bhi taarif kru km hai ..dant ke treatment ke liye bahut hi badhiya clinic hai koi bhi problem ho dant me a to z acha treatment hota hai mera bhi dant ka implant karvana tha to bahut hi badhiya suggestion Mila mujhe but kuch personal reasons ke vjh se mai avi nhi Krva paya hu but jldi hi karvavunga again thanks Dr maim and team
Outstanding dental care by Dr. Suchi Singh! She is skilled, patient, and attentive to every detail. The clinic is clean and welcoming, and the entire team is professional. Highly recommended for anyone seeking reliable and comfortable dental treatment
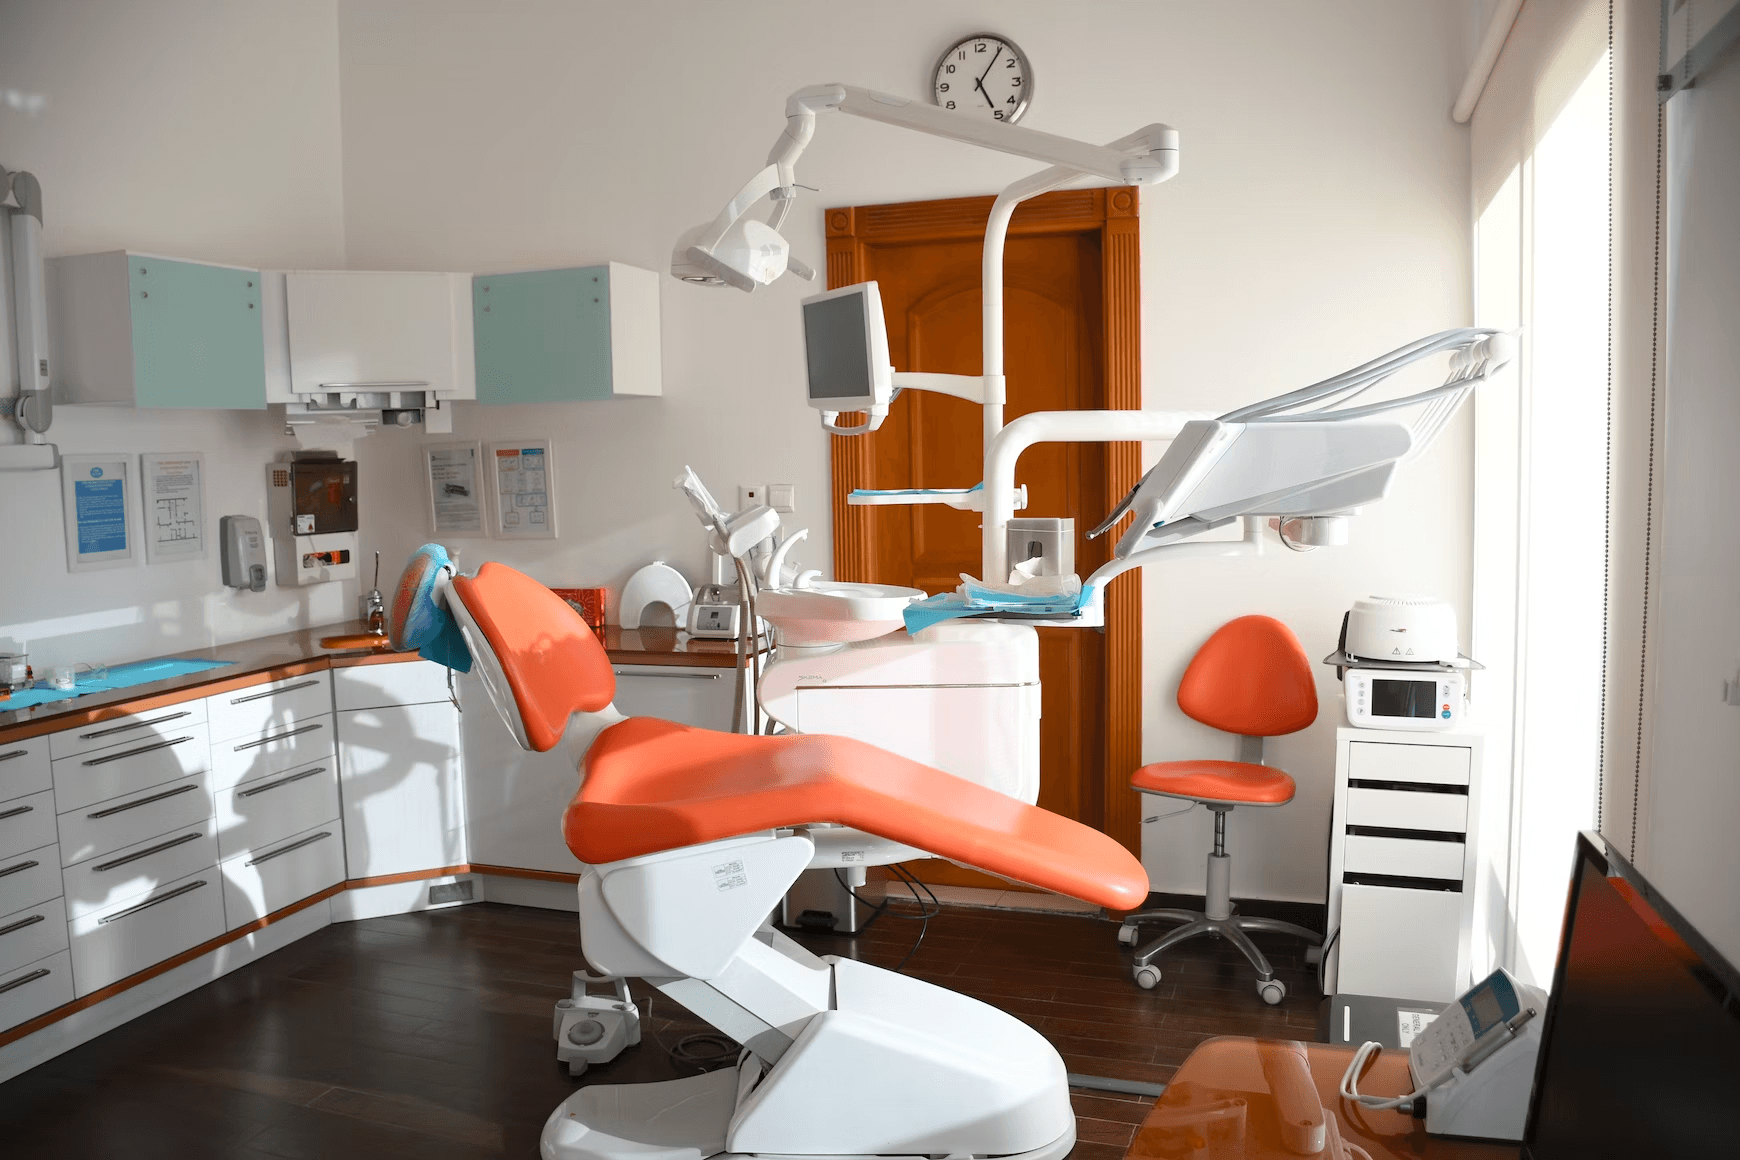
A glimpse into our modern dental clinic, advanced technology, and patient-friendly environment at Renew Dental.
Explore our thoughtfully designed clinic spaces built to provide comfort, cleanliness, and a calming experience for patients of all ages.



Best Dentist in Noida
Renew Dental Clinic located in Noida, Sector 47, is one of the leading dental clinics. Founded by Dr. Suchi Singh who is widely regarded as one of the best dentists in Noida, the clinic is committed to delivering personalised and high-quality dental care. Dr. Suchi Singh focuses on customised treatment plans designed around each patient’s unique needs, ensuring advanced, comfortable and reliable dental care at Renew Dental Clinic.

Your Trusted Dental Experts

Complete Dental Care

Friendly Dental Space

No Hidden Charges

Two trusted dental clinics in Noida — Renew Dental (Sector 47) and Tooth & Truth (Sector 34) — for gentle, modern care.

Renew Orthopedic Clinic, A-321, Basement Floor, Next to Mother Dairy Store, Sector 47, Noida, Uttar Pradesh 201303
 +91 99710 35300
A-98/A, Block A, Sector 34, Noida, Uttar Pradesh 201307
+91 99710 45002© 2026. All rights reserved | Designed and Developed by Zarle Infotech